There is fun times to be happening today. But first, the costume checklist:
- [ ] Dress
- [X] Striped Hose
- [X] Corset
- [X] Shoes
- [ ] Petticoats
- [ ] Gloves
- [X] Hat
- [X] Wig
- [ ] Makeups
- [X] Makeup accessories
- [X] Bloomers
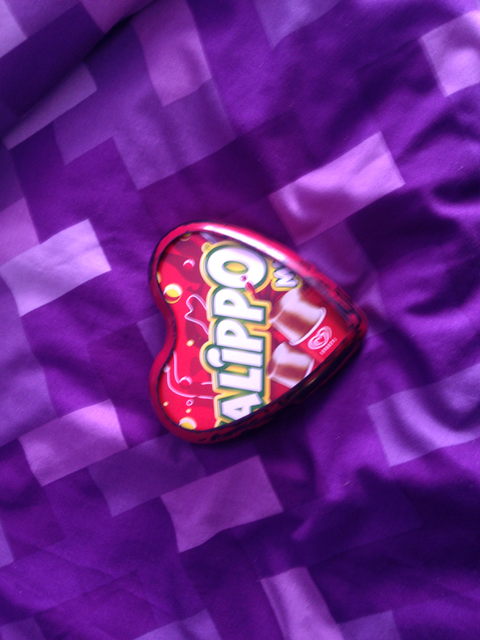
- [X] Functioning Heart
- [X] Rose-enhanced Mask
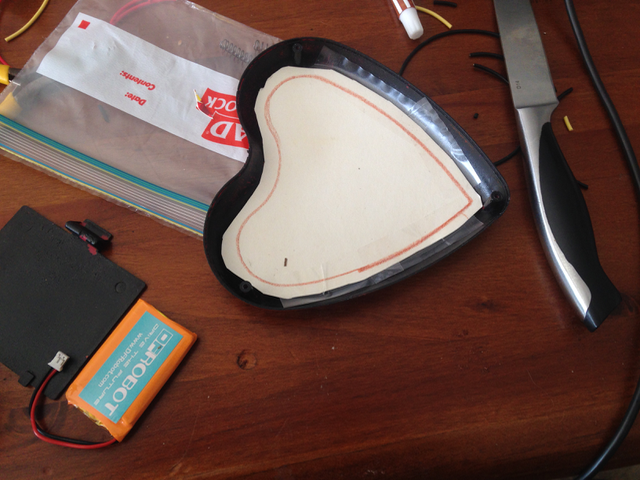
Yes, dear readers, I finally figured out how to do Bitzer's Rosy Cheek(tm) and Beloved and I conquered the Arduino programming for the sparking lights in the heart.
Check out this test video:
We've finessed the code since this test run, but this is a good proof of concept. I'll share the code if so requested. For the colours, we didn't want any greens at all or whites too often... and that took some solid jiggery-pokery. AKA: trying different numbers until something worked.
And speaking of jiggery-pokery:
 [Shown here: free range cardboard with some bits cut out]
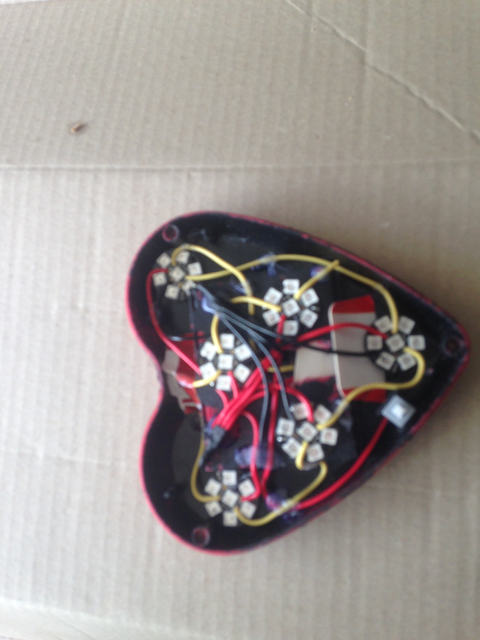
I had to paint the shell of the heart without frelling up the minipixels, so some clever masking was required. Luckily, I had some cardboard cartons in the recycling bin, and so I got to one of them.
I cut four of the small tags off for inserts, and traced around the front piece of the heart twice [inside and outside] to get an idea of where I could cut.
 [Shown here: clever masking work in progress]
With enough sticky tape and cardboard, I can mask the world! I was so darn pleased with myself. I only needed to trim two bits to make room for some plastic pylons. And tape all the way around it ensured that most of the gold stayed on the outside.
 [Shown here: almost complete masking where all the holes are]
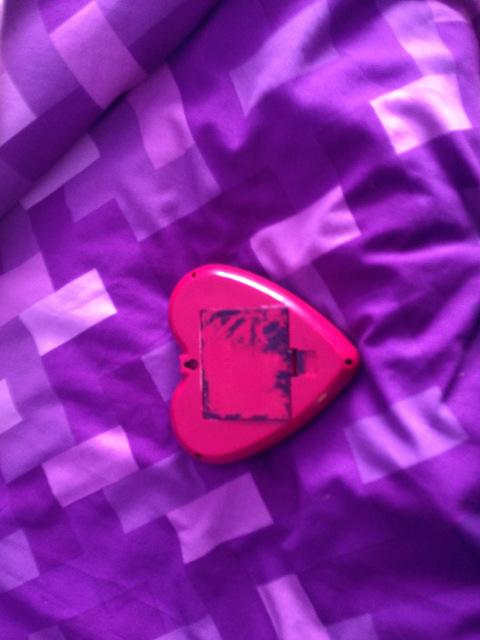
Through a combination of cardboard bits, sticky tape, and twiddling, I managed to cover every hole by which paint could conceivably sneak in. It wasn't until I finished hosing it down with primer that I realised I'd missed one:
 [Shown here: improved masking with a bit of cardboard over the wall mount hole]
I got this one to stay still simply by squeezing it into shape. Huzzah.
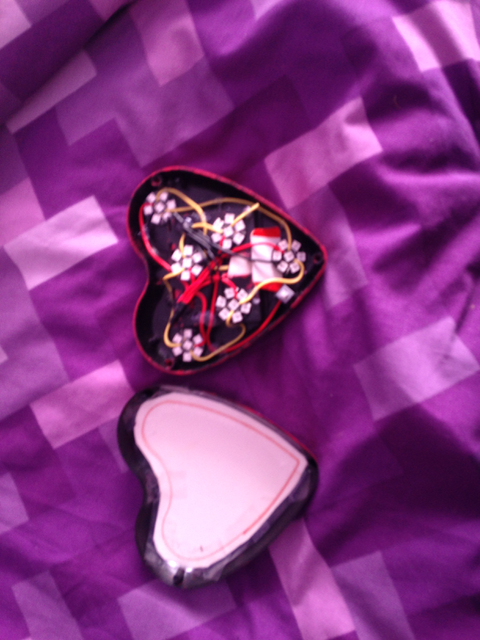
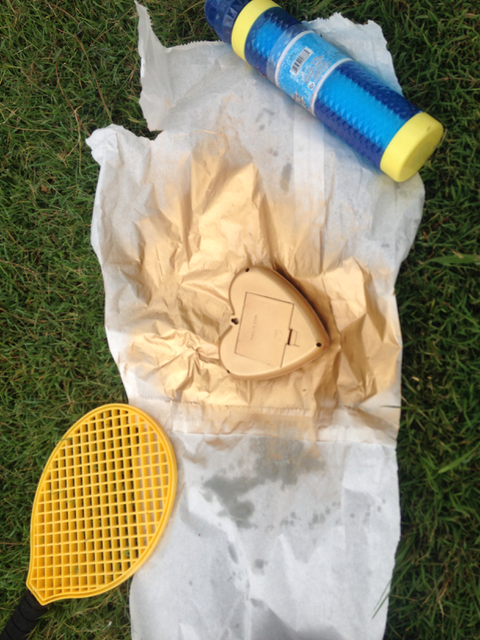
 [Shown Here: The back of the heart in a lazy reassemble pre-paint]
 [Shown here, the front of the heart]
Both halves of the shell fit together nicely enough without needing much in the way of twiddling. Which is really good news, because I will be flipping this baby frequently and often.
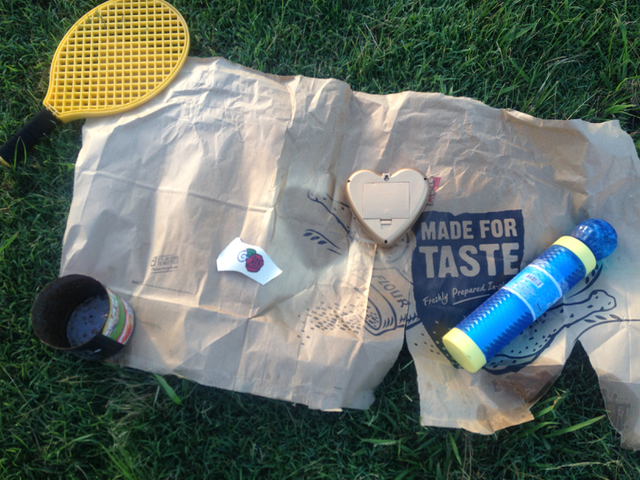
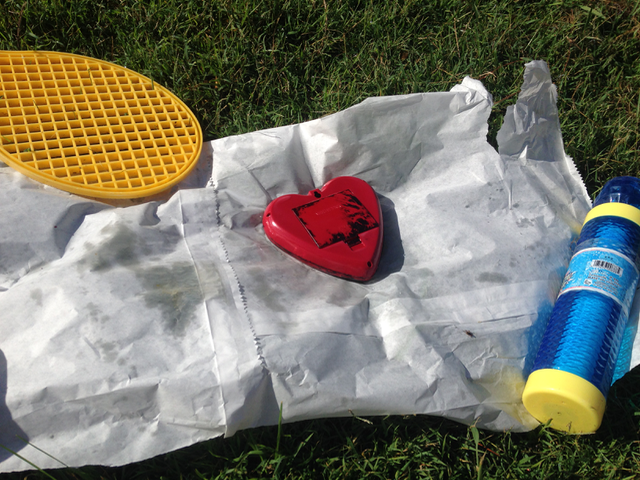 [Shown here: my highly advanced painting system]
Always spray in a well-ventilated area, kids. And if you must spray on the lawn - put down something disposable to protect the grass.
I obviously weighed it all down with whatever was lying around.
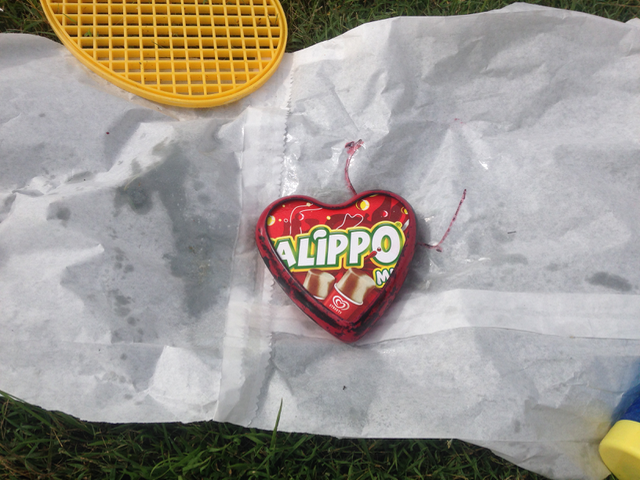 [Shown here: the front, post primer]
I was not prepared for the heart to stick to the paper I put down, but there was no real damage beyond colour transfer.
I usually spray at a close range and really hose it to make absolutely, positively certain that the thing I have sprayed firkin stays sprayed.
 [Shown here: the heart after a liberal application of gold]
As you can see, even close-range spraying has fallout. When you weigh paper down, make sure it's stuff you don't care about. The kids didn't care and actually volunteered those weights for my use.
I needed two coats of gold to make the red disappear. Despite my best efforts to get it in one.
 [Shown here: roses, almost ready to become decals]
And now for something completely different.
I've been stressing for some months as to how to put an Art Deco rose on a curved surface. Beloved suggested printing the roses.
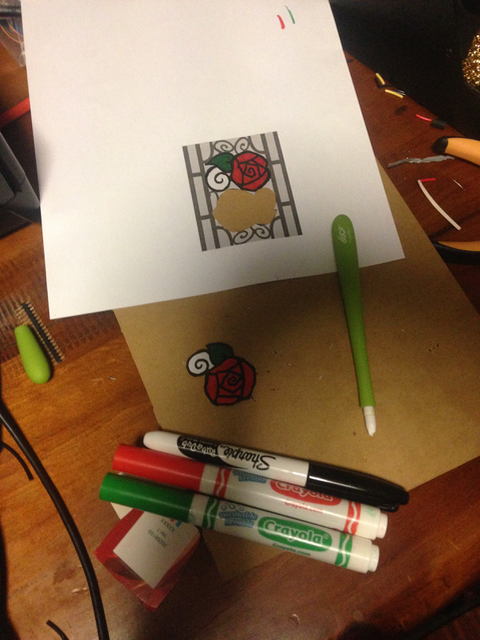
I had to print in greyscale for two reasons: (1) colour ink is firkin expensive and (2) the colour of the roses I had found were wrong for what I wanted.
I got to the grey printout with a black sharpie and two crayola felt-tip colours. Working at close range with my glasses off so the colour was coherent and not messy.
That green thing is a ceramic scalpel. Creatively borrowed from Beloved's stash of really cool tools. It's just what you want when you're doing an intricate cut like the rose shown on the cardboard.
If you don't have a scalpel or cutting mat - corrugated cardboard makes an excellent substitute.
And as for the unavoidable little white fluffy bits? I went over them with the sharpie again.
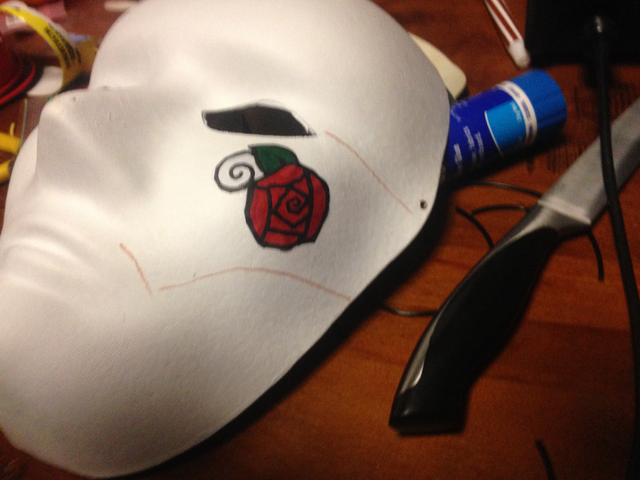 [Shown here: testing on a spare mask]
Now, I'm nervous about mucking up the mask, so I had to do a test piece to see how it would go. And in doing so, I perfected the method for getting a flat piece of paper onto a curved surface.
I held the decal against the palm of my hand and pressed hard by applying pressure into the back of the mask.
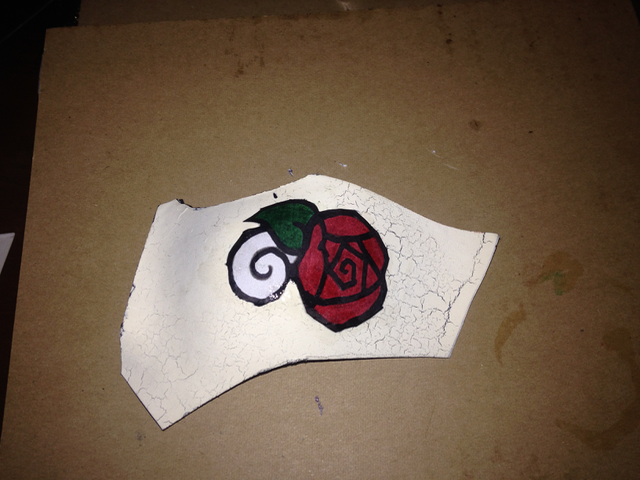 [Shown here: The decal on the mask]
As you can see, it worked out really well. The corners of my cuts now look like a really intricate paint job by some 1920-something artist.
 [Shown here: Both heart and mask ready for lacquering]
The lacquer requires a minimum of three light coats to be effective. Which means spraying lightly from a nearly standing position. Which means a lot of spraying at semi-regular intervals.
Fortunately, both of these pieces need the same lacquer, so I can kill two birds with the same stone.