Artsy Fartsy part 2!
Disassembly and reassembly. You’d be surprised to learn that the first thing you need to know about making jewellery is how to take it apart. Especially if you’re as cheap as me and don’t like paying more than $15 a gram for beads.
Getting them pre-assembled at the shops is WAY cheaper. The most I paid for any one set of bling was $15.
The Photos:
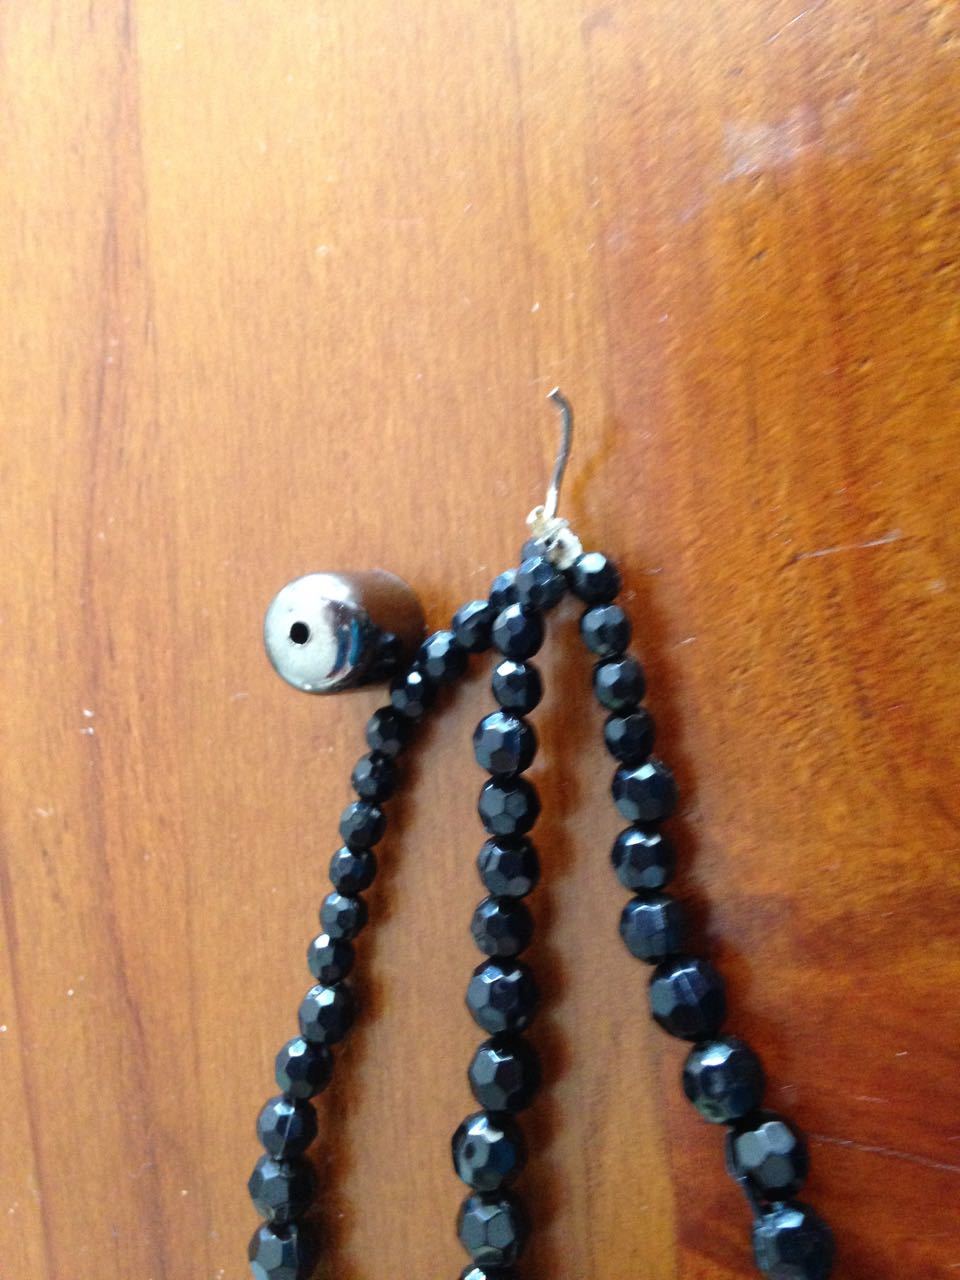
- It’s amazing how nasty the construction is for some of these things. Under that nice, neat cap was a mess of wire and cheap nylon thread.
- But the bonus with cheap nylon thread is, it’s easy to get all those beads
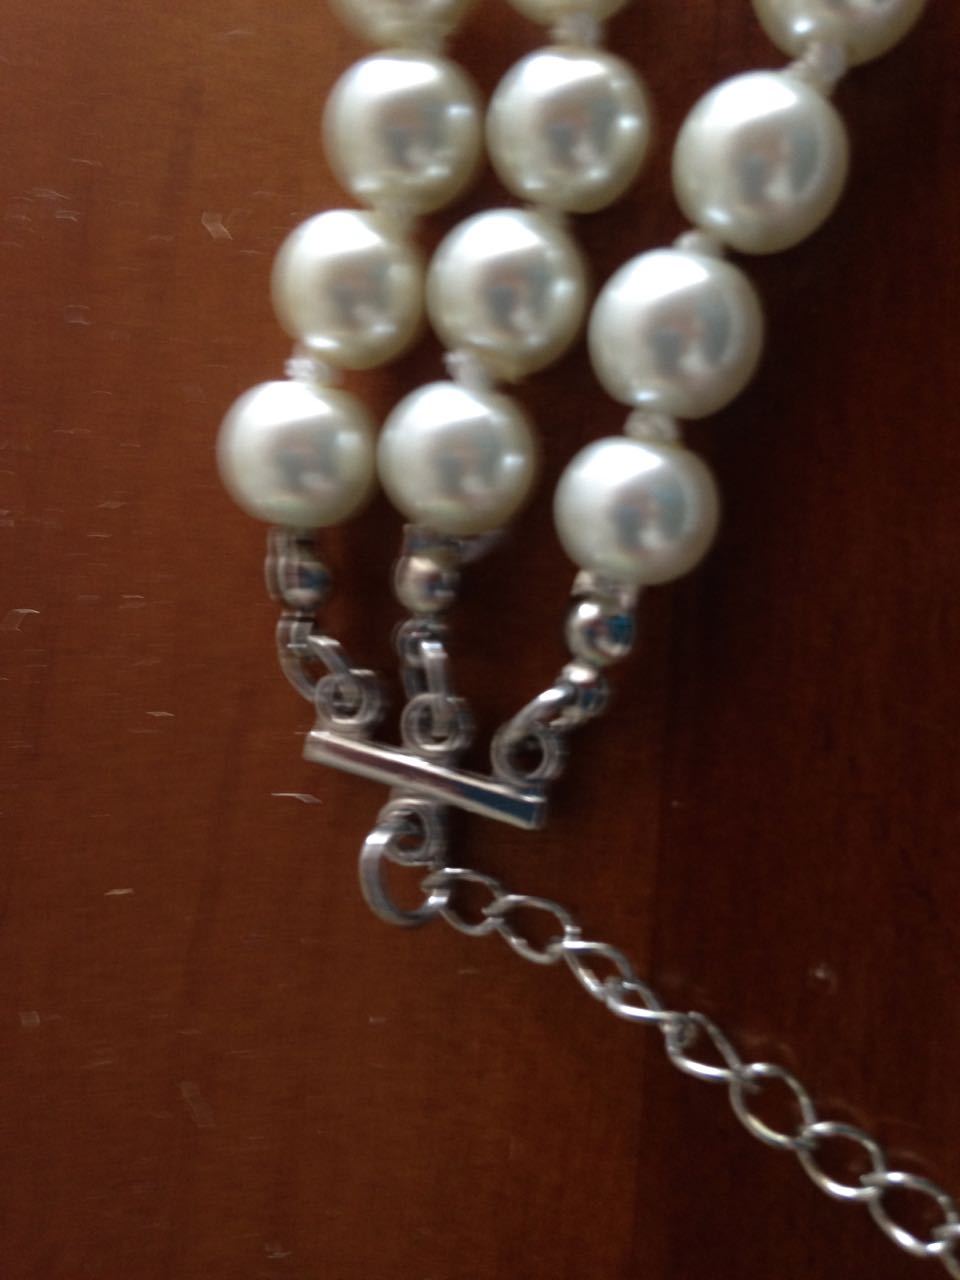
- See that triple-attachment? It’s going to be useful in another earring.
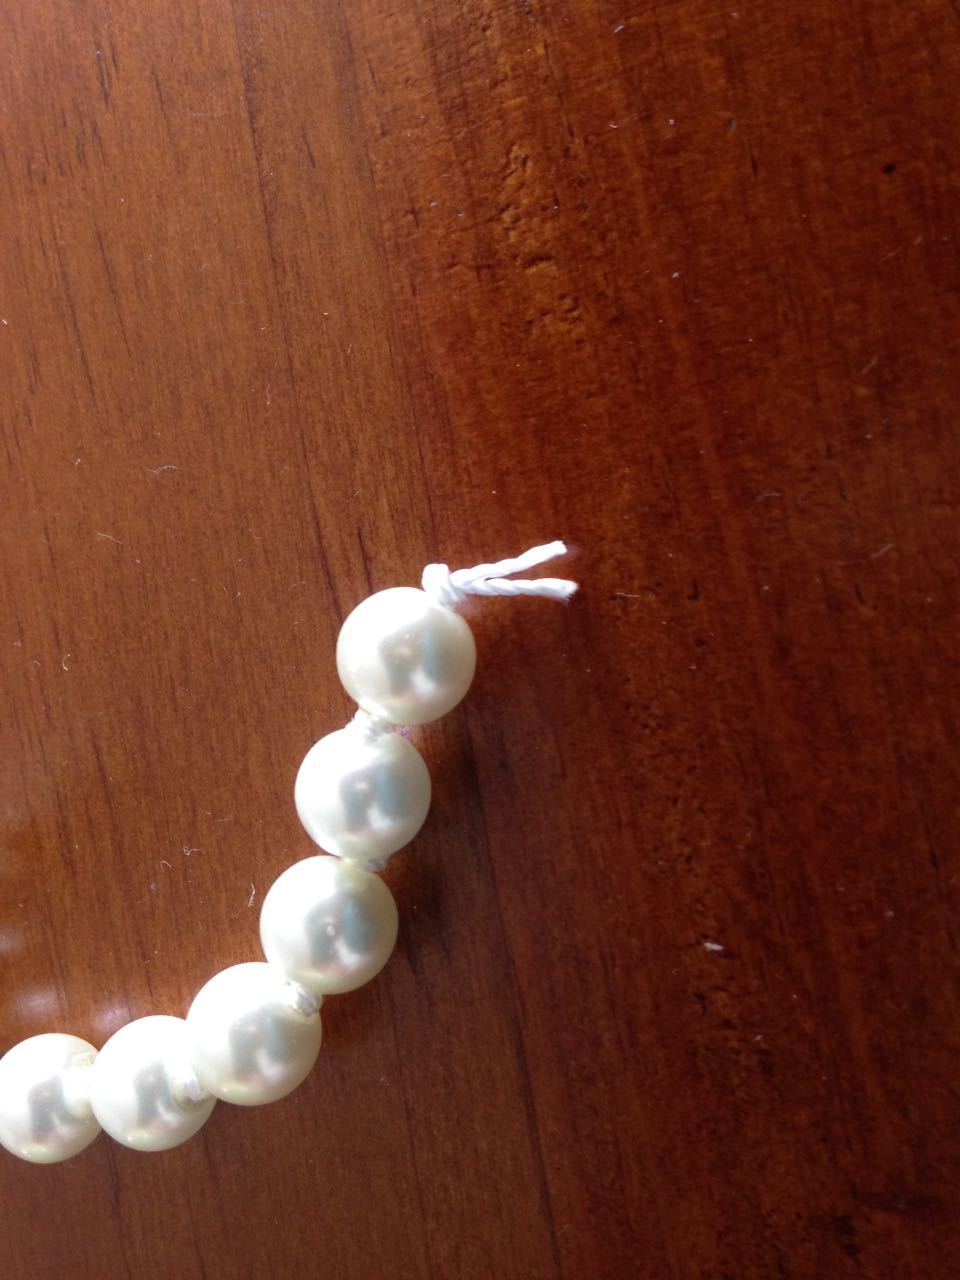
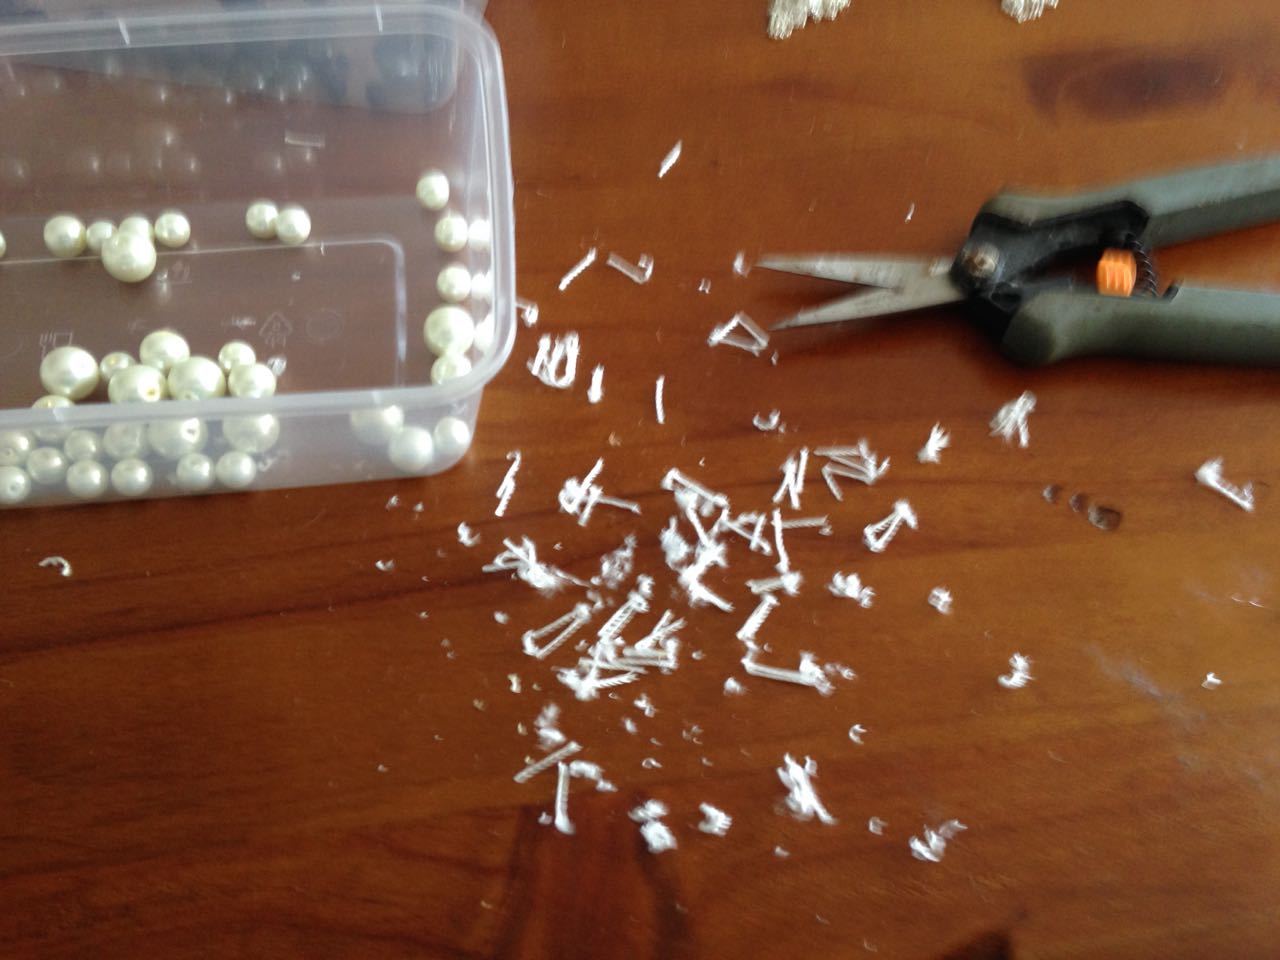
- There’s two ways to handle beads that are individually knotted in. You can try to unpick each individual knot…
- Or you can snip those bastards off with precision scissors.
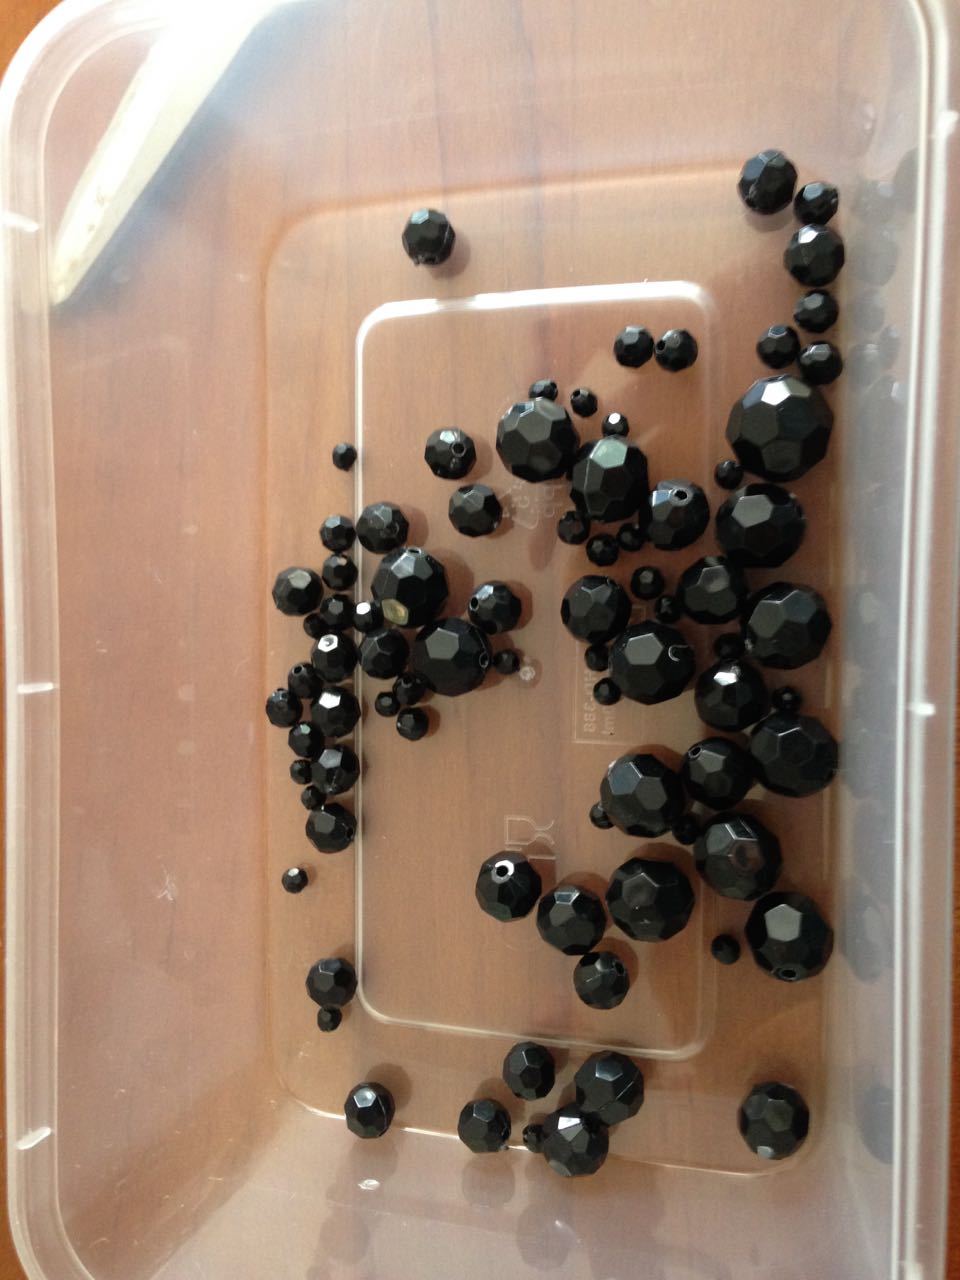
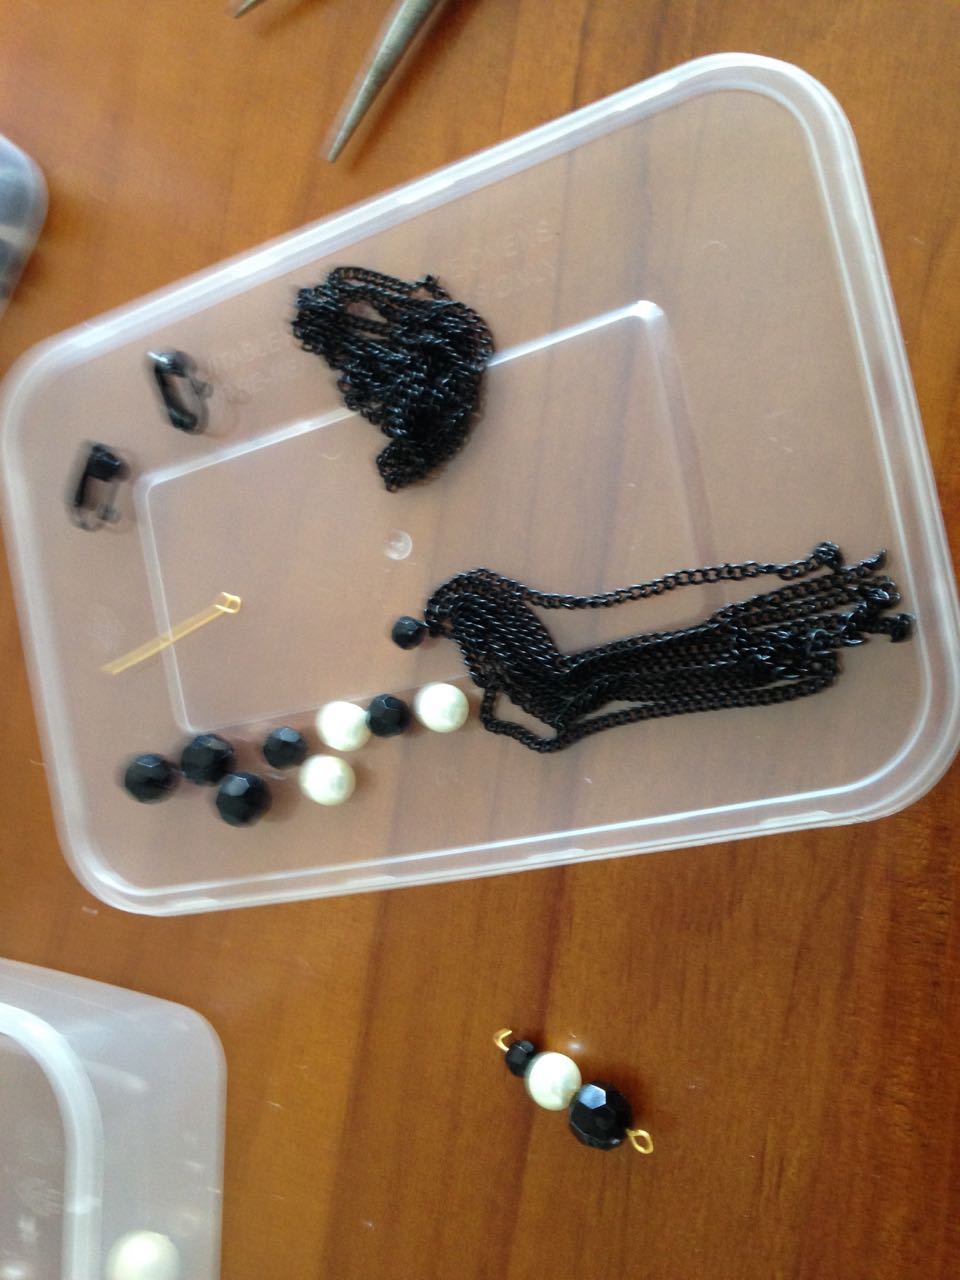
- Gather all bits together and decide how your piece(s) should look before you commit. The tassels here came from that one necklace from K-mart
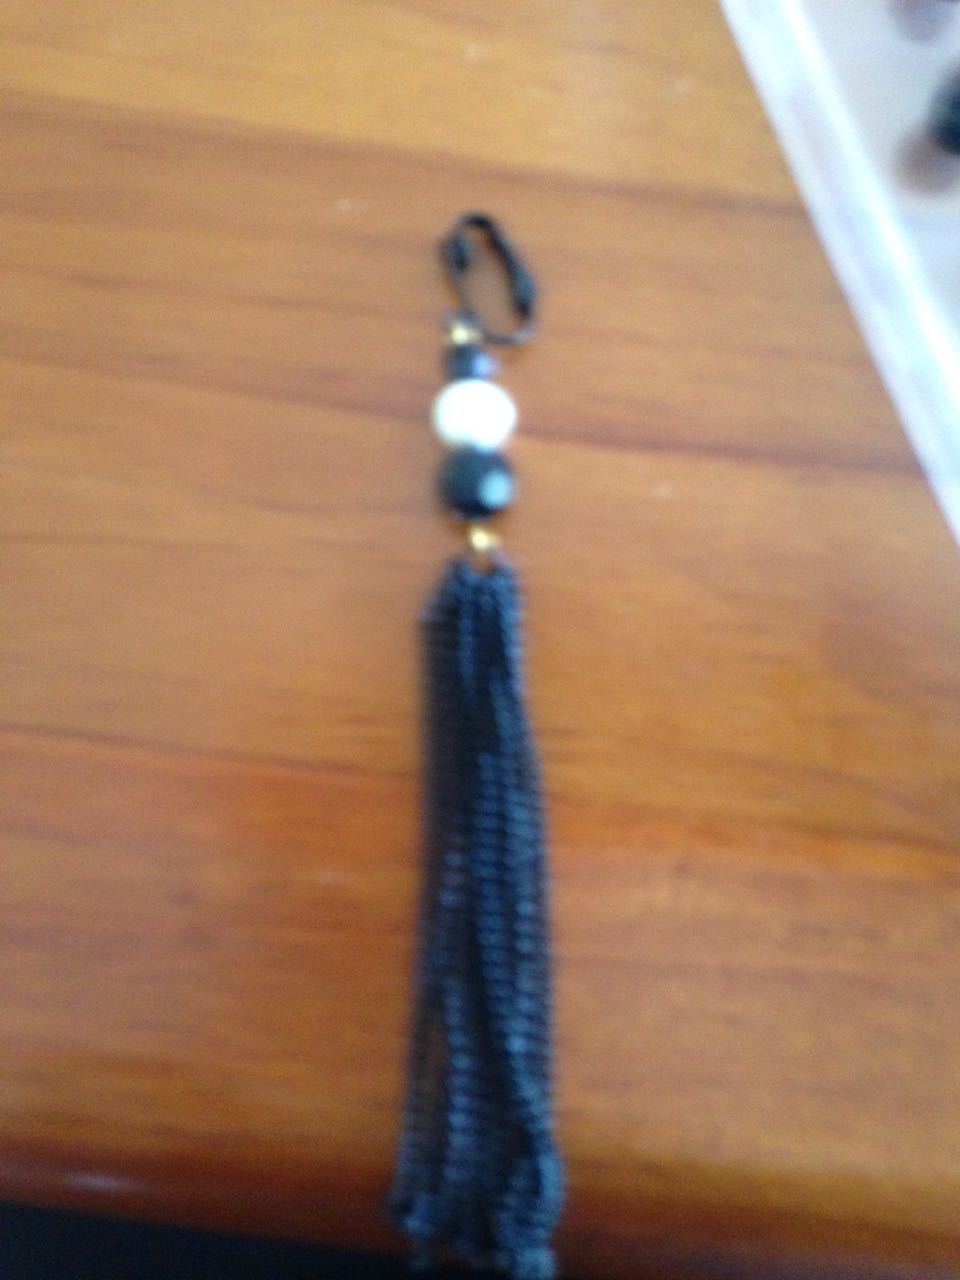
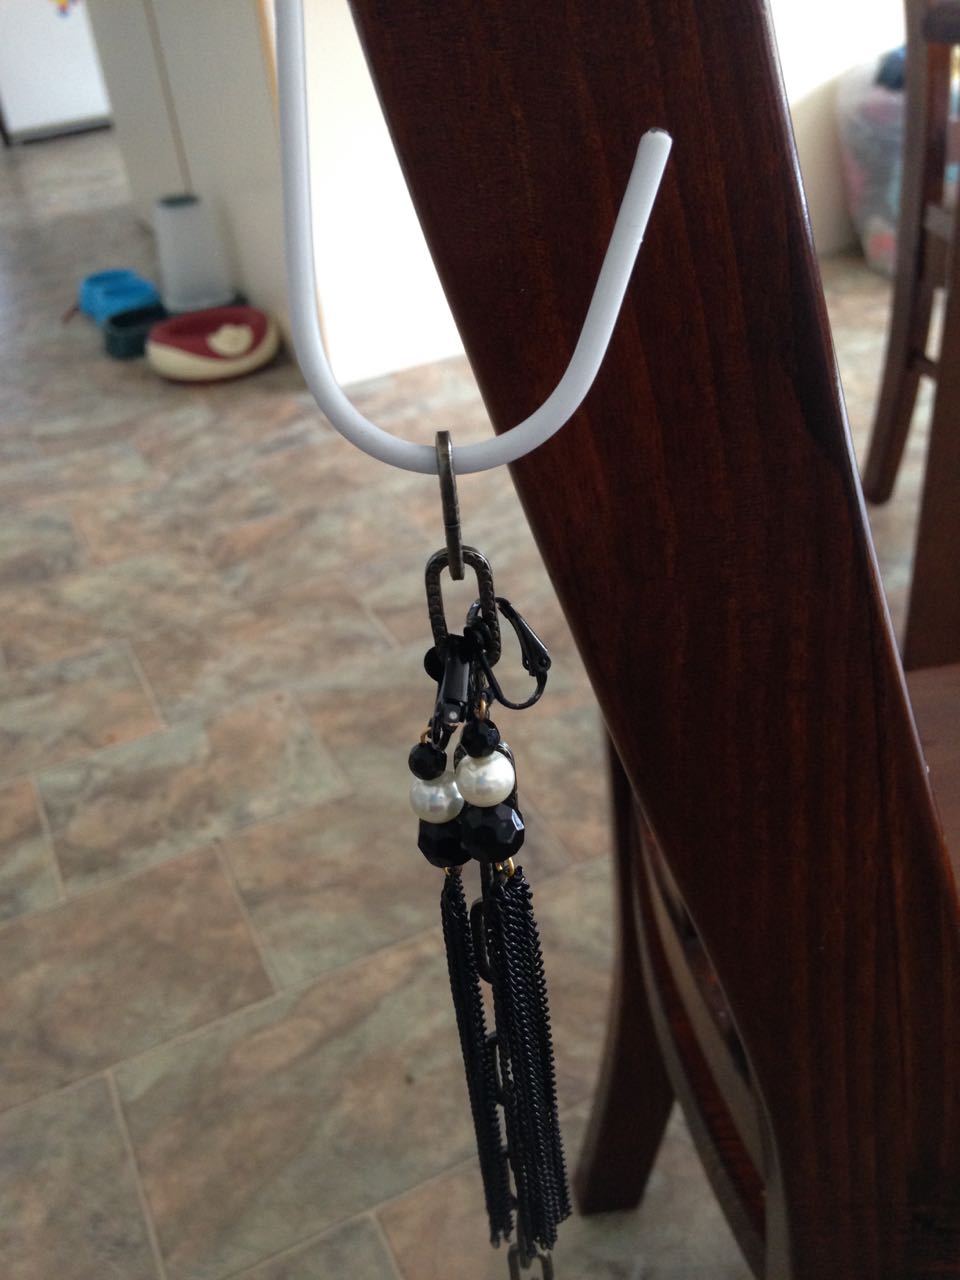
- First earring! Owing to the length of the tassel, this one’s a shoulder-tickler.
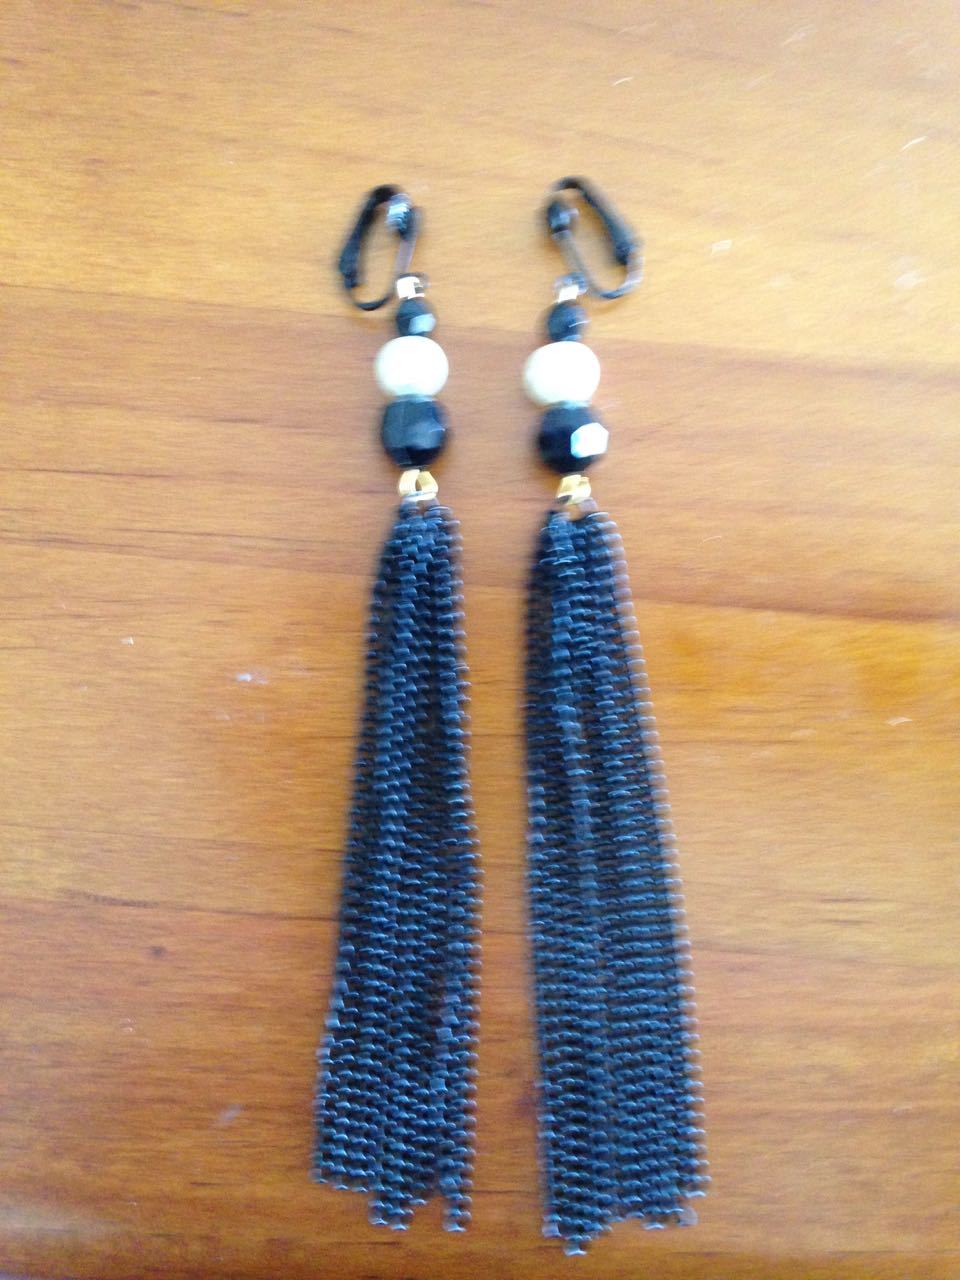
- And now there’s a matched set
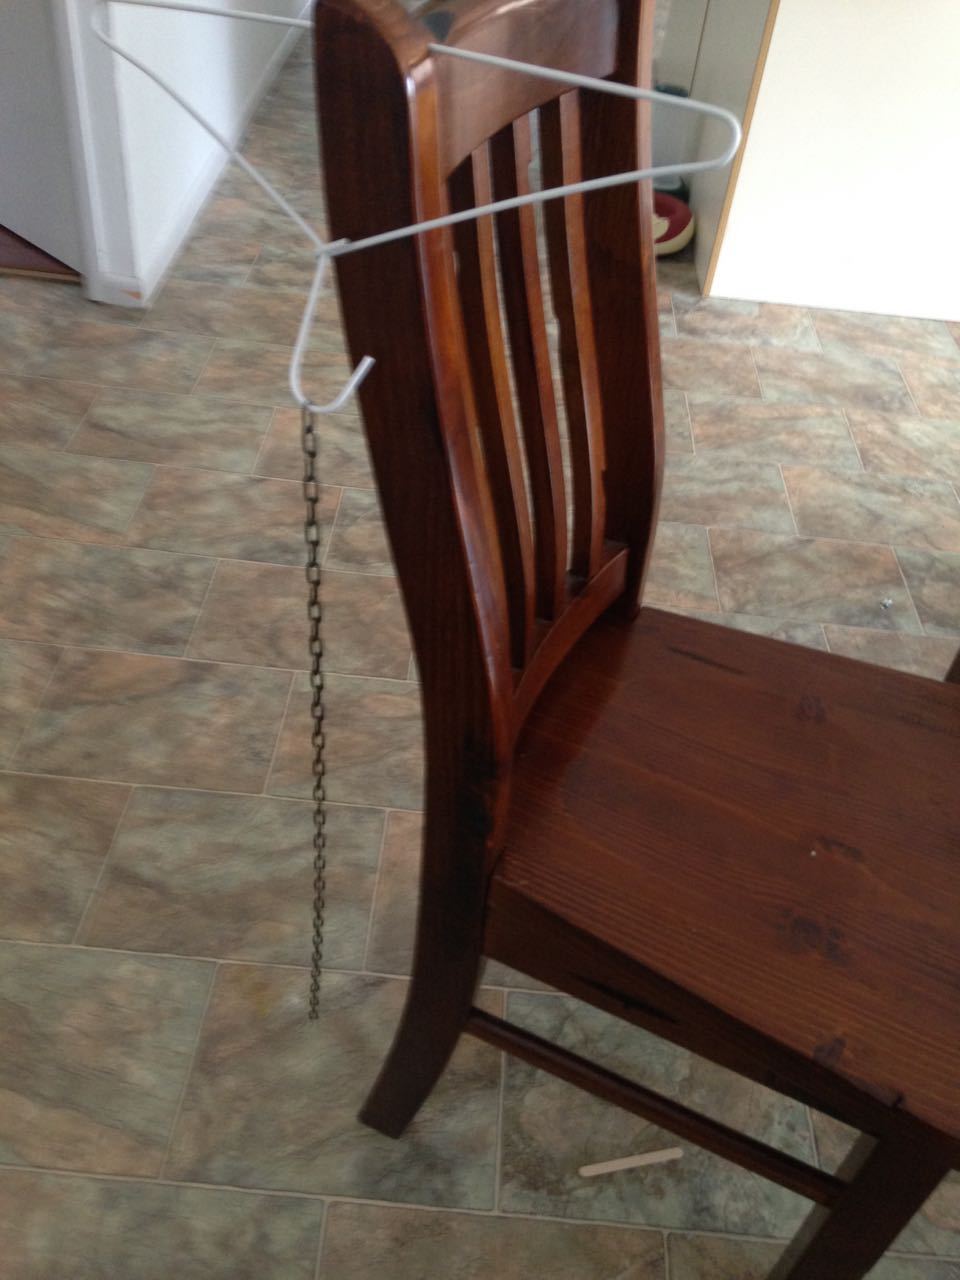
- I am using some fence chain [leftovers from another project] to store and transport all the earrings I’m making. I measured this to be just a little bit longer than the postal tube I’m using [72cm]. Both so I can be sure I won’t fudge the final steps and so my recipient gets more earrings. And yes, it took me all freaking night to realise I could have just as easily stored the hanger right-ways up.
- First pair stored safely on my supremely high-tech storage device. I later realised that this was not that well thought out and had to re-attach all of them from the bottom of the chain upwards.
Other challenges of the evening included working around dinner, explaining every last thing I am doing to my family twice each, and keeping Chaos out of everything she could plausibly ruin just by touching it. She can’t help it. She’s magnetically drawn to feathers.
