Building Bitzer part 7
More incredibly advanced techniques are revealed herein, my dear readers.
If you are using Fray Stoppa for anything, please:
- Use protective gear. The cautions on the bottle recommend full hazmat gear. Alongside storage in a lead-lined bunker 20 miles below the surface of the Earth, after use.
- Don’t breathe the fumes
- Keep loved ones away from this stuff
- Make sure it’s sealed between uses
Seriously, though, this stuff is REALLY toxic. I got a little on my fingers when I was removing the seal [Pro-tip - use pliers or tweezers if you’re going to do it. I mean it about the gloves.] I felt the effects immediately. Including a slowly-growing burning sensation in the affected skin.
I soaked the cut ends of my ribbon and found something else to do during the five minute drying time. Mostly, keeping my darlings away from said toxic goo.
I kept one glove on during the process to make sure I didn’t get any on me, and exclusively handled the bottle with that hand.
The rest was delightfully easy.
Fold in half,
Manoeuvre into place,
Pin into place,
Set straight,
Re-assemble the back of the hat.
SELFIE TIME!
I look that stoned because I’m trying to line up the shot right.
Yes, my hair is going to be more orange when I cosplay Bitzer.
The hat’s done! Yay!
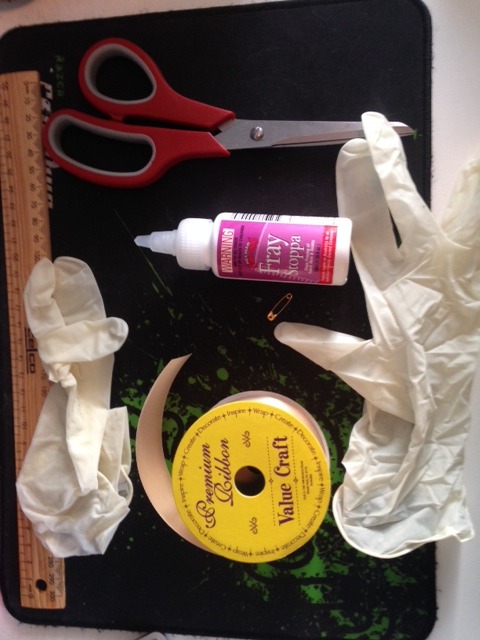
My tools and materials. Note that Fray Stoppa is firkin toxic and should not be allowed near anything alive.
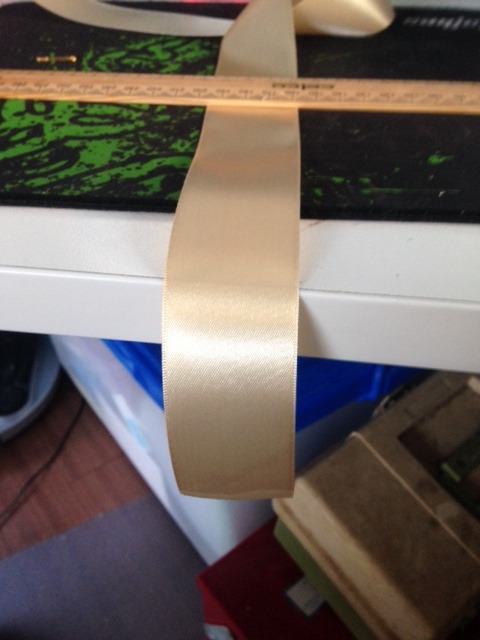
My advanced drying stabiliser.
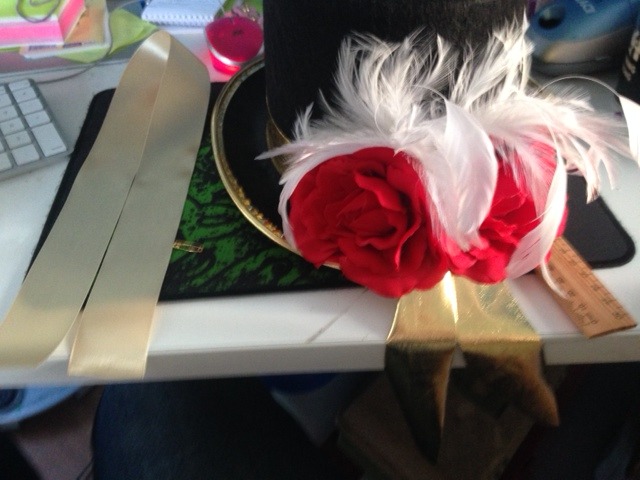
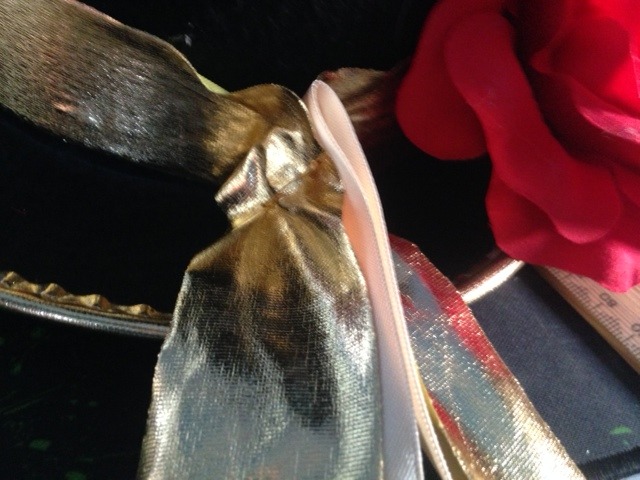
See if you can spot the itty bitty safety pin that's going to hold that ribbon on this hat.
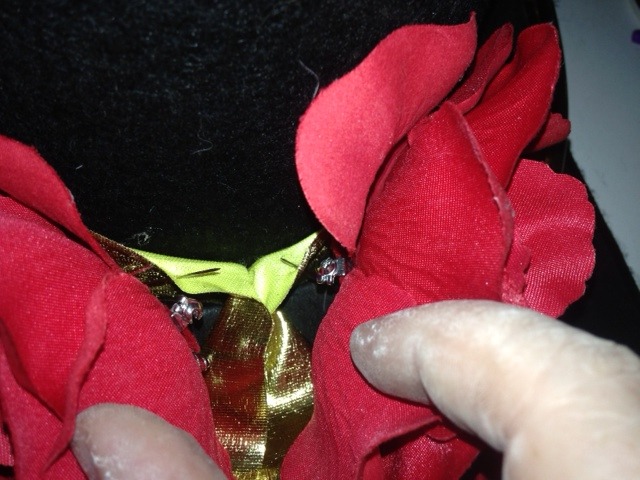
My secret fastening method.
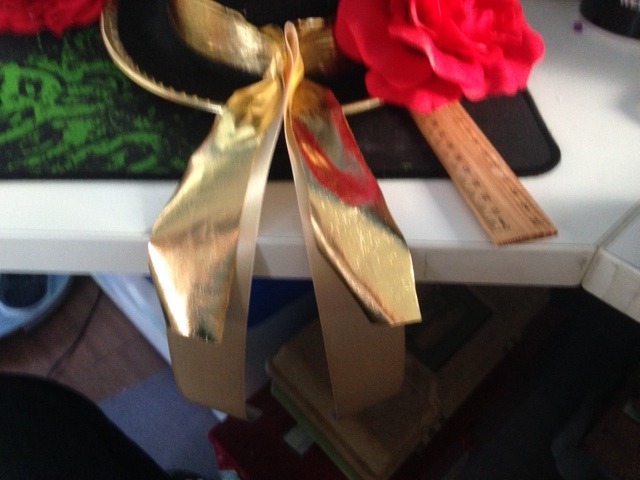
Folded and pinned into place
Then set properly.
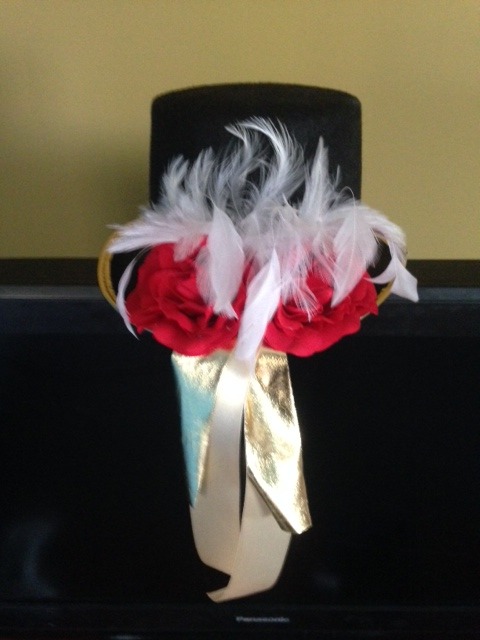
Reassembled! Behold the majesty!
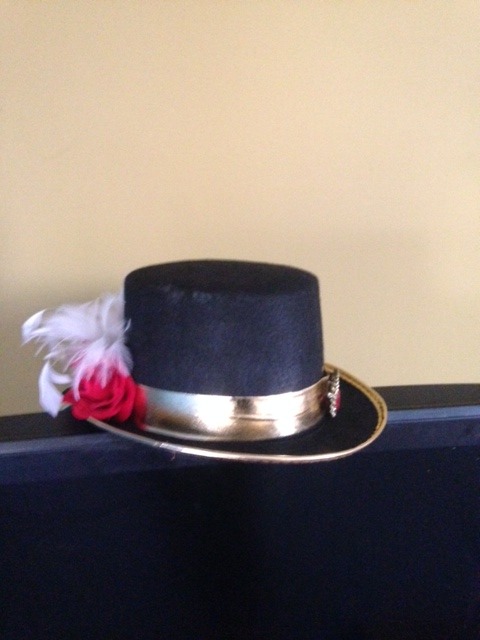
Front shot

And from the side.
And finally, as I plan to wear it.