Building Bitzer part 2.
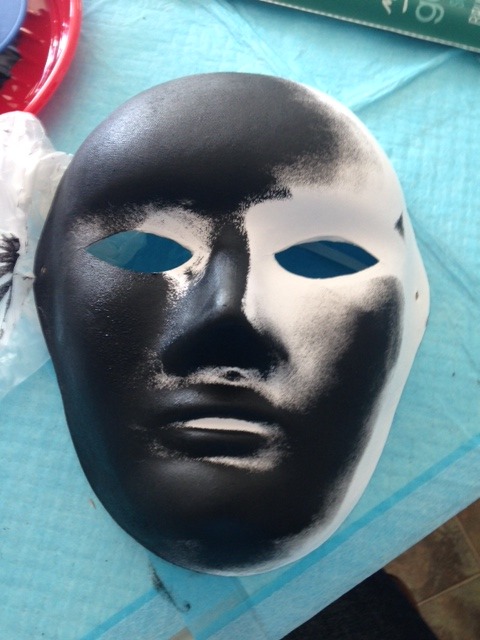
The mask featured here is a test platform on which I will experiment with different levels of paint-to-crackle ratio.
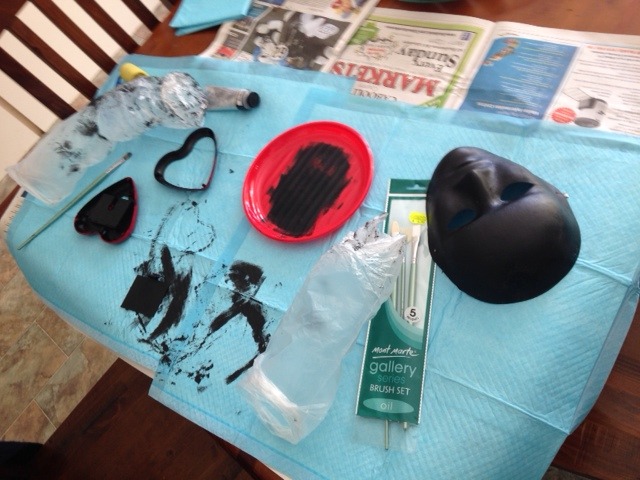
Even after all the care and attention to detail, I still wound up with black paint on parts of my body 9_9 But at least I was careful enough not to get any on my clothes. Yay me.
The roller made painting the mask a very quick process, and any small areas got filled in with the help of the small square brush on the far left of the last photo.
Stippling action with the brush works very well in filling in the tiny, fiddly areas. Both on the mask, and in the twiddly bits of the heart base.
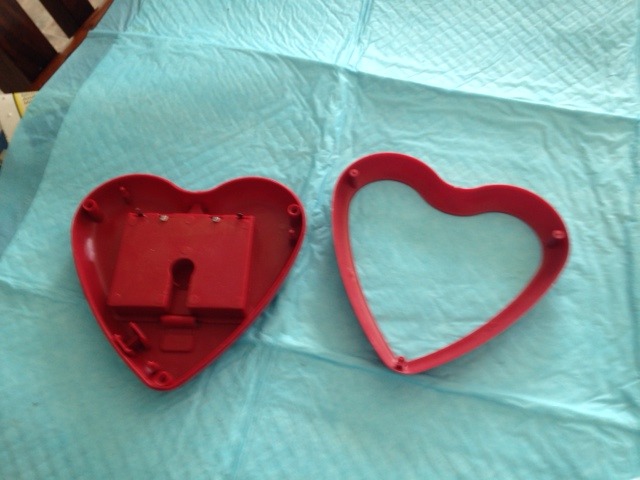
The roller was sufficient for the underside of the top heart casing, as well as the battery port cover[see if you can spot it].
It was only after painting the insides that I realised getting rid of the battery compartment would give us more room to play inside the heart. Power to the lights will eventually come from a power pack in the bustle area… which I may be able to hide with the butt-bow that comes with the skirt.
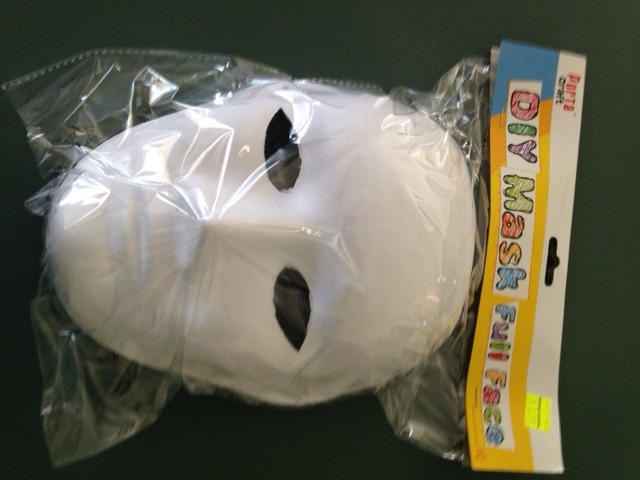
Rather sturdy paper maché mask from a dollar shop. This is the last time it will look so neat.
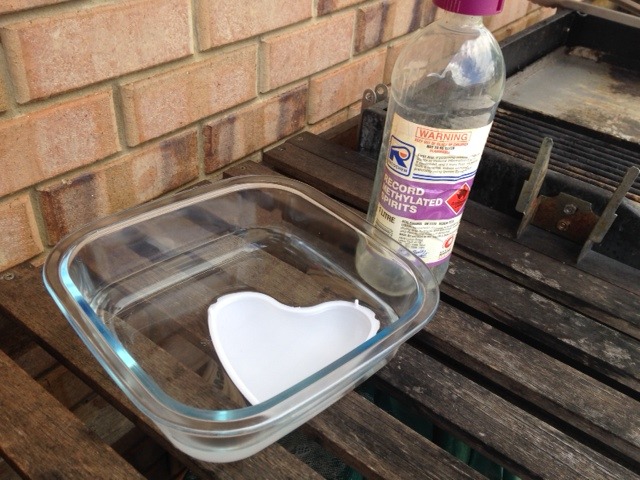
After 24 hours soaking in Methylated Spirits, the point of diminishing returns is reached and renders further soaking futile.
The existing circuitry is removed before painting
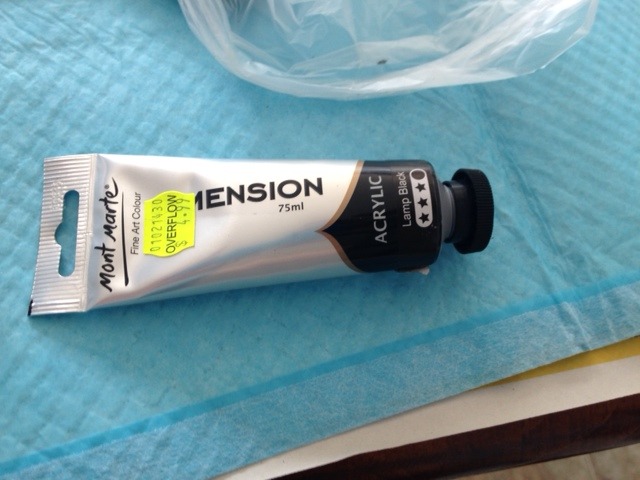
Art supplies from dollar shops do very nicely for our plans.
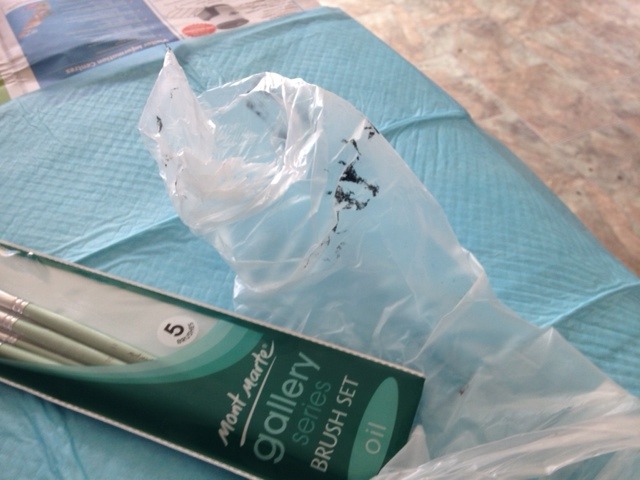
The plastic sleeves from the local newspaper made excellent impromptu gloves. I still managed to get black paint up my arm, though.
More art supplies from a dollar shop. That sponge roller takes more than it gives, I found out.
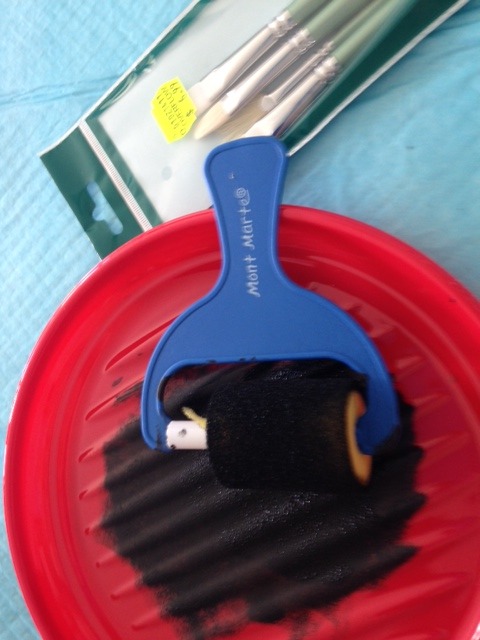
The roller was very fast. As you can see, I started on the 'wrong' side for the piece I eventually want.
The aftermath... The blue drop sheets are puppy training pads from a friend.