Welcome back, frugal freedom fighters. This post is showing you the basic preparations for a planter box, or set thereof.
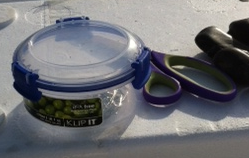
The tools for today are some cheap plastic gutter mesh [the stuff you put in gutters to keep the leaves out] a pair of decent scissors [if you bought wire mesh, use side-cutters!] and the paperclip staples I showed you how to make last time.
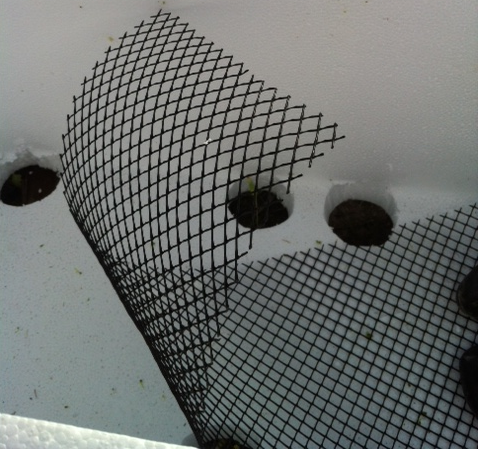
Step 1: Measure the mesh to fit, but make sure it fits up the sides of the box a little way.
Step 2: Cut along the joins. You will notice that the mesh does not want to stay where it’s put and tends to spring back on you.
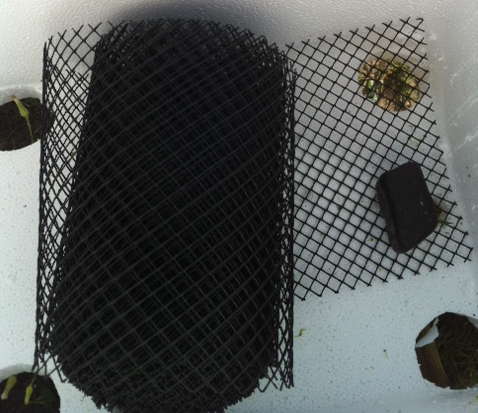
Step 3: Press mesh into shape and weigh it down.
Step 4: Say hello to my little friend. The long side allows you to position the other side for maximum mesh manipulation :D
Step 5: Position staple.
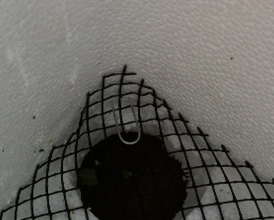
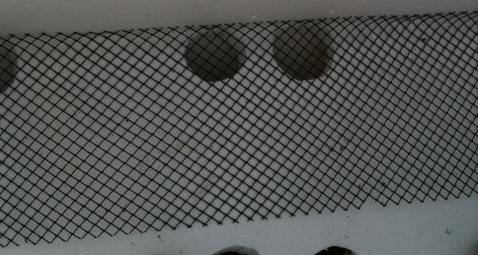
Step 6: Press into the foam. This will kill your fingertips after a while. Not literally, though.
Step 7: Repeat steps 5 and 6 everywhere you reckon you need to keep the mesh in check.
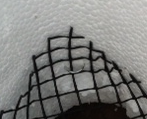
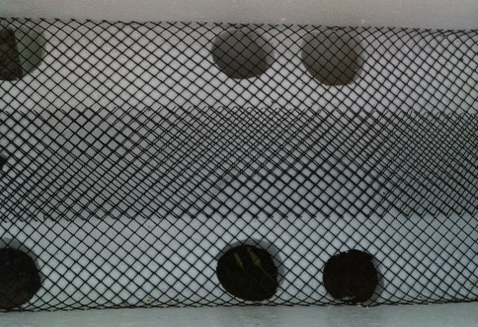
Step 8: Now do the other side.
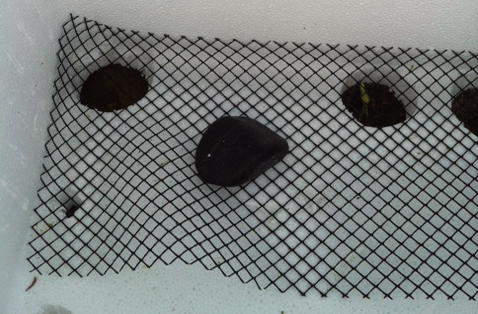
Put a layer of rocks in the bottom, just enough to mostly cover it.
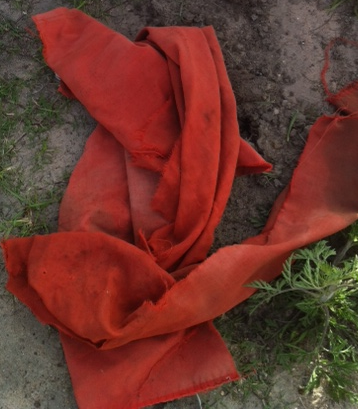
And now, a teaser. What am I planning to do with that old rag?
Stay tuned, freedom fighters!
Tools for working with mesh
Step 1
Step 2
Step 3
Step 4
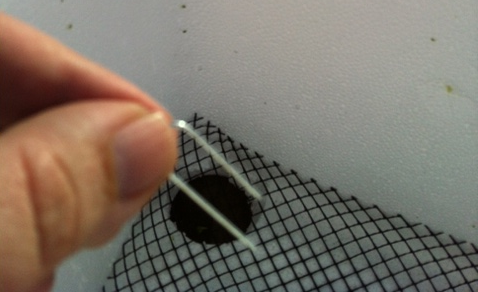
Step 5
Step 6
Step 7
Step 8 and done! It's ready for rocks.
Rubbish to you, useful to me.