Building Bitzer part 6
Adding the brooch backing was a relatively simple process, when compared to refining the front!
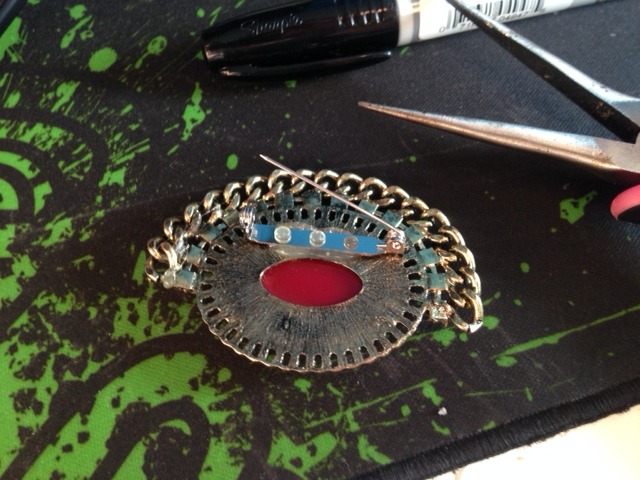
The brooch backs cost $2.49AU, which is one cent cheaper than the horrible tiny thing I’d have had to disassemble from a dollar shop. Remember, kids, it pays to look around and compare prices and options.
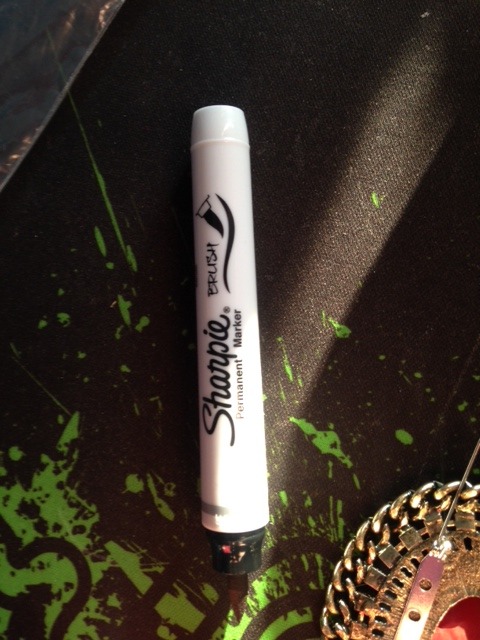
I had the shakes fairly bad, which made lining up the brooch back while I sharpies the dots in a little problematic, but as you can see, the rest went off without a hitch.
I did have to apply a little craft glue to the brooch to stabilise it once it was in place on the hat.
In part seven - adding ribbon to the back!
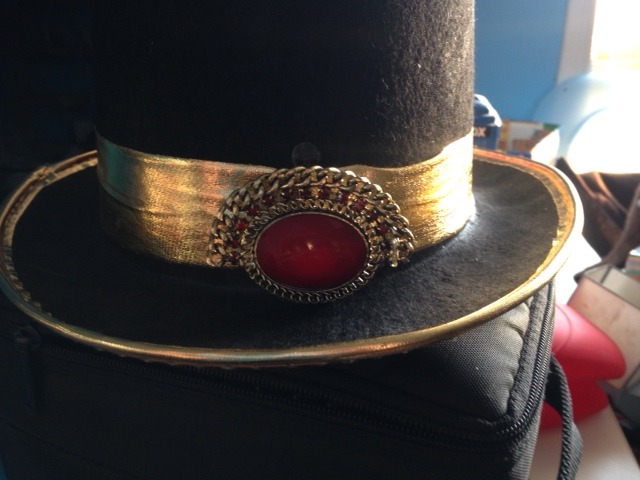
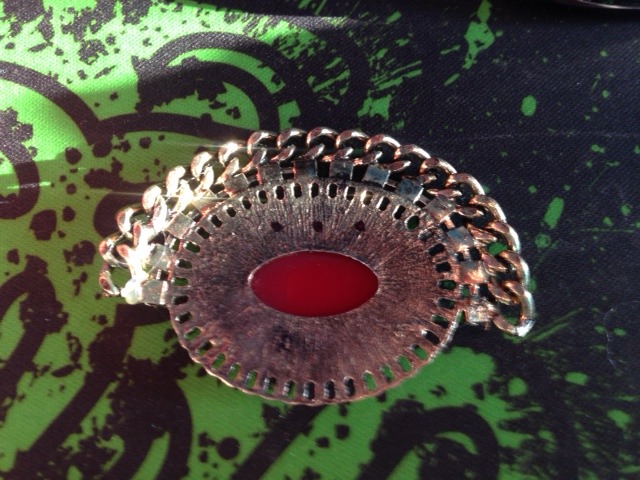
All ready at the front
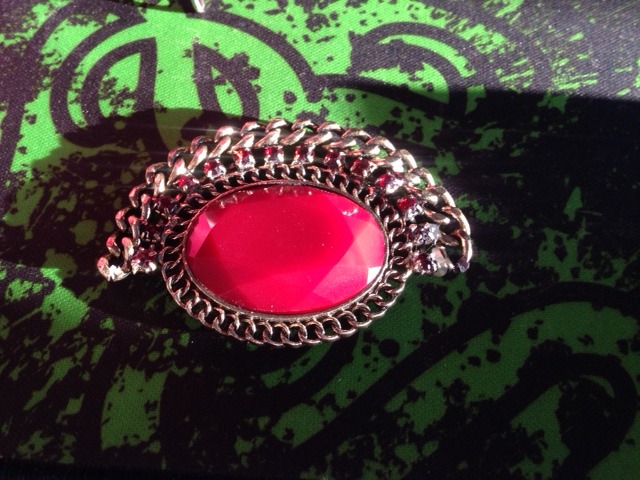
Time to turn it into a brooch!
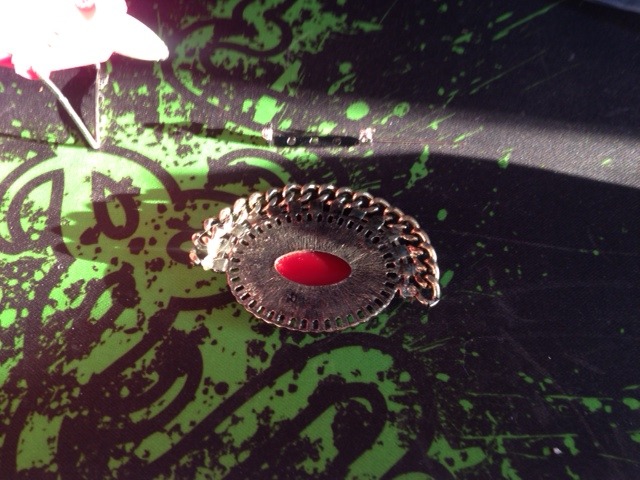
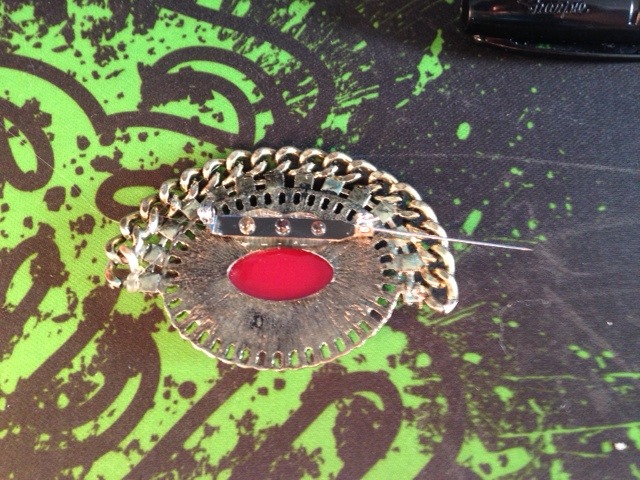
I figured out where I wanted the backing to go

My secret weapon...
...gives me a good idea where to pit the glue!
Fresh hot glue.
And moulded a little to make sure it all stays
Finally in its rightful place!